Visitors Reports
Steps to enable Google tracking.
After enabling Google tracking, one can view reports in the system. Available reports are as below,
Common reports,
Visitors By Time
Visitors By Country
Visitors By Device
Visitors By Page Categories
Top Pages
Top Conversion Forms
Top Referrers
Page wise reports,
Average Visitor Time On Page
Bounce Rate
Visitors By Time
Page View By Time
Top Referrers
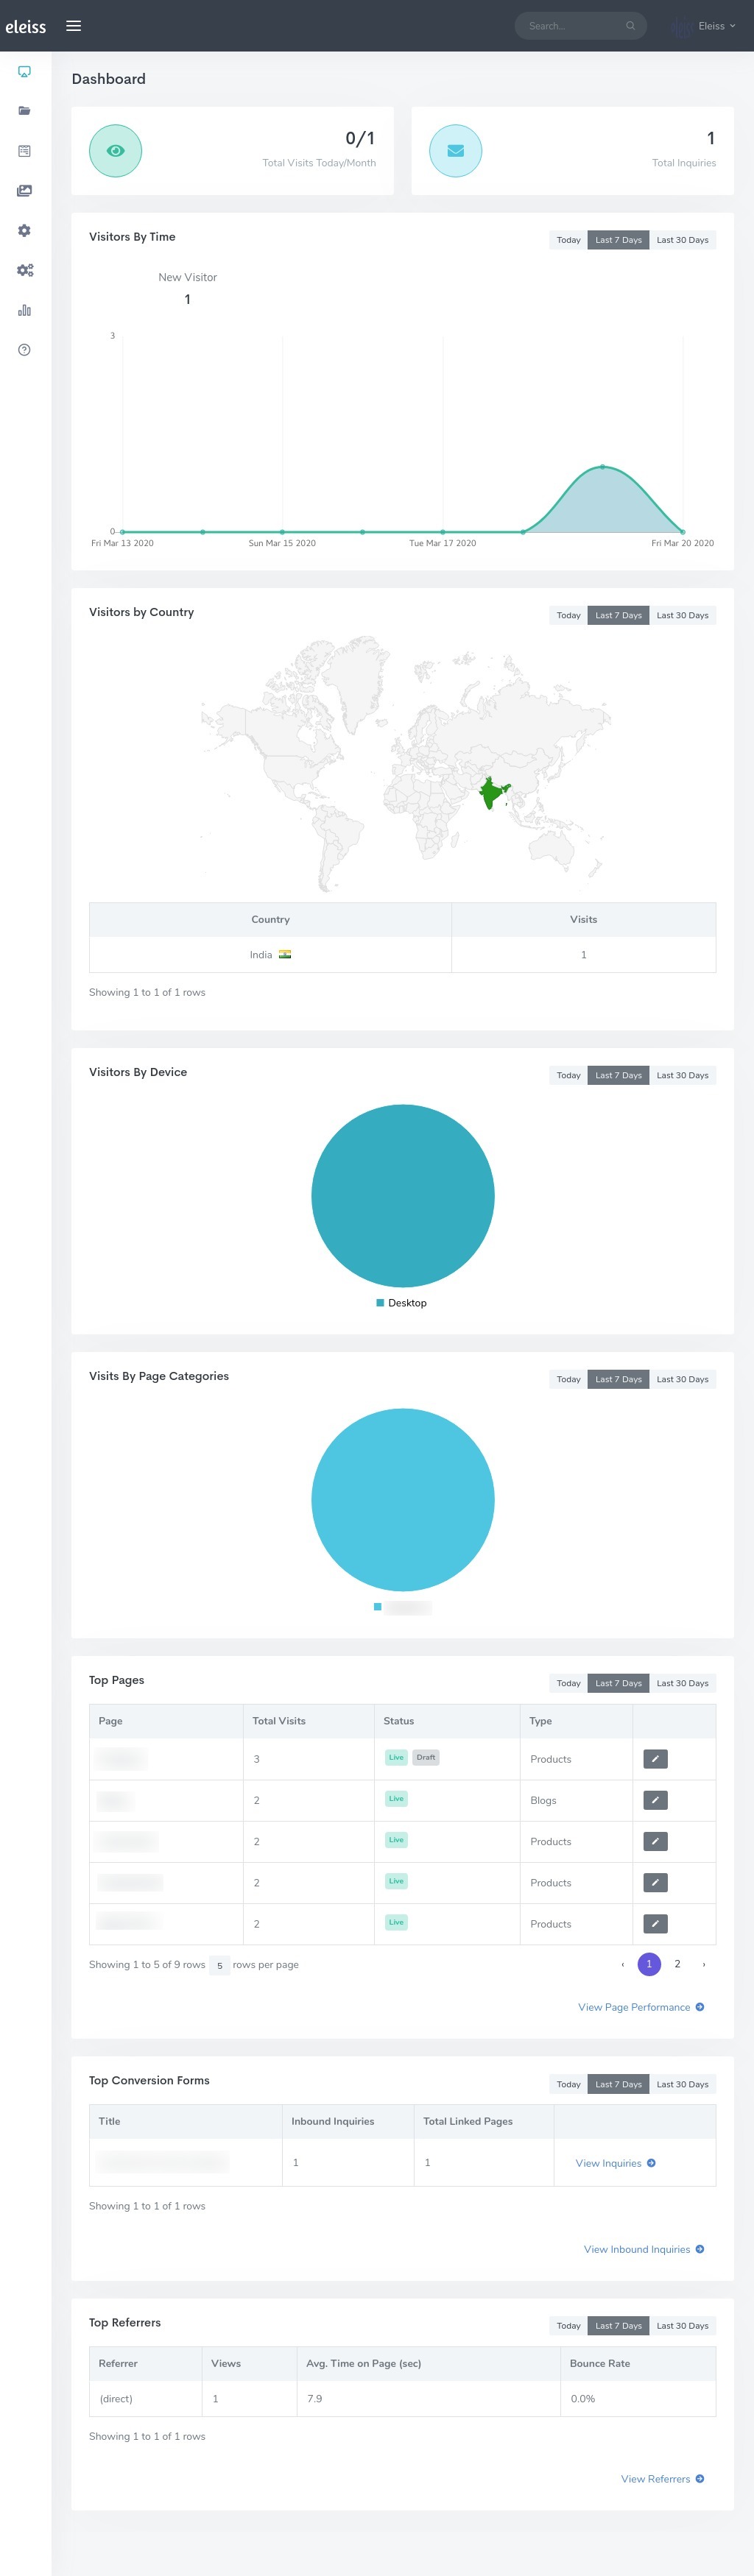
All above reports’ overview is visible on Dashboard and detailed information is available in Reports section.
Available for below plans,
Diamond |
Gold |
Sliver |
|---|---|---|
✔ |
✔ |
✔ |
Can be managed by below users,
Administrator User |
Moderator User |
Editor User |
|---|---|---|
✔ |
Note
Reports are visible to each and every users.
Get more details about which users can perform which types of operations, know more.
Steps
Enable visitors reports
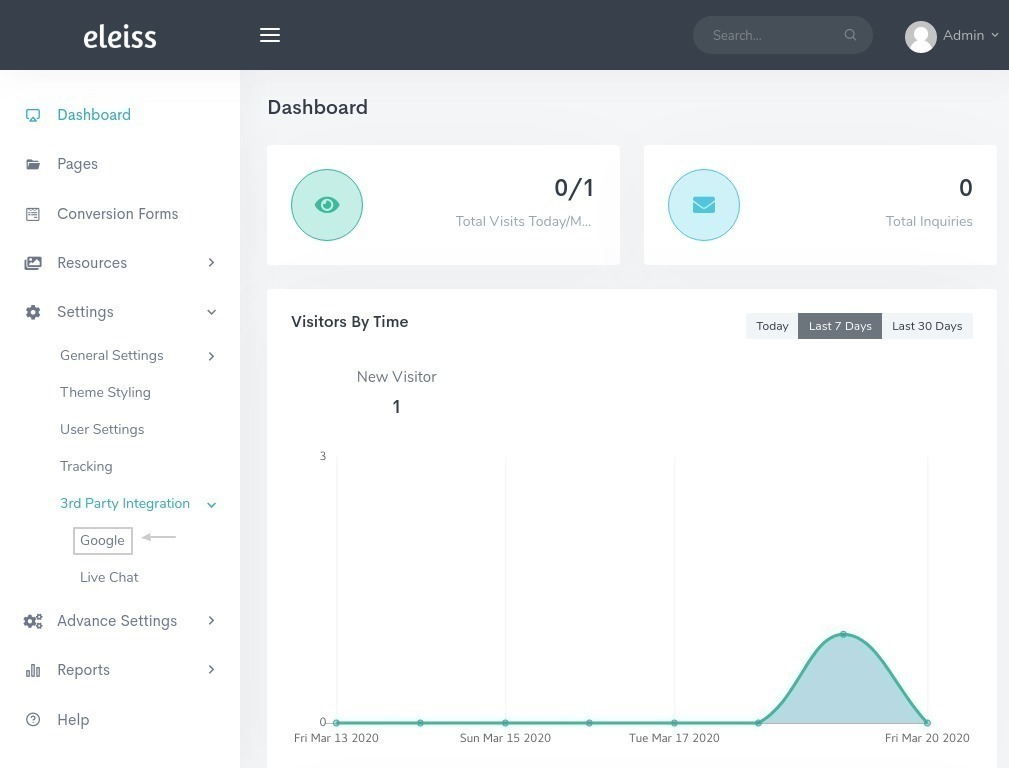
Go to ‘Settings > 3rd Party Integration > Google’ using Menu
Click on ‘Analytics Settings’ Tab
In ‘GA Key File’, Choose GA Key document
In ‘View ID’, Enter ‘ga:’ and the Copy & Paste your ‘VIEW ID’
Click on ‘Save’
Note
Steps to generate VIEW ID, GA KEY click.
View reports
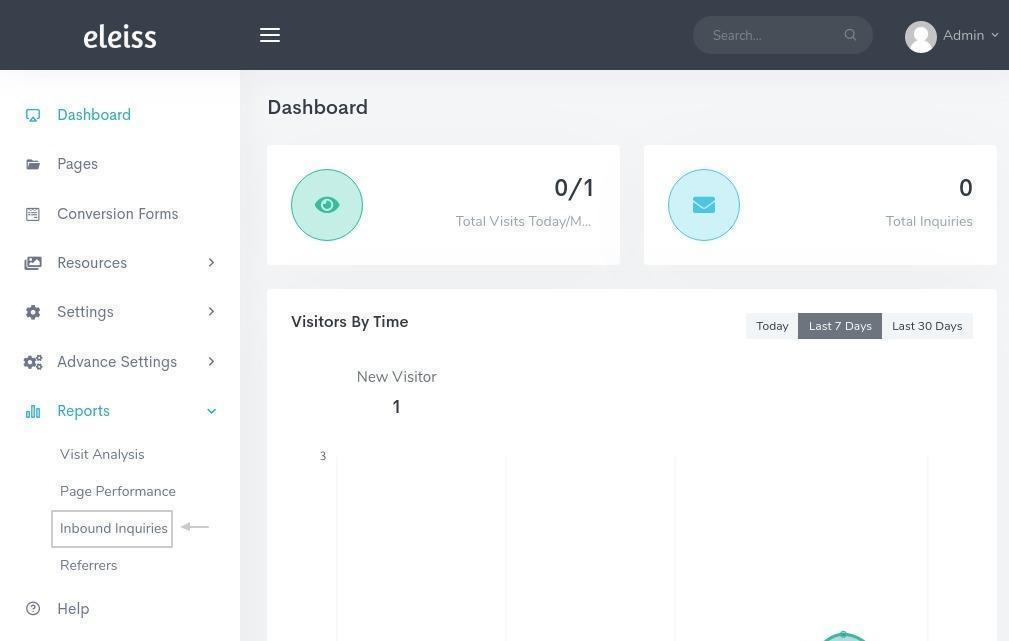
To get an overview of the website analytics, visit your dashboard.
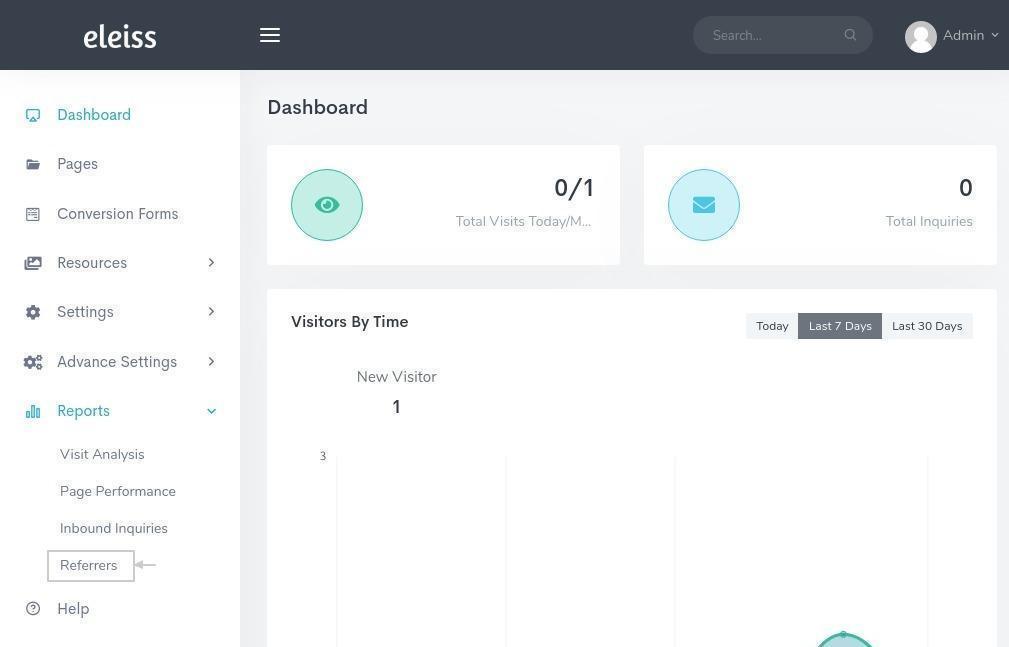
For detailed reports, go to ‘Reports’ from Menu
In ‘Visit Analysis’ section, you will get below reports;

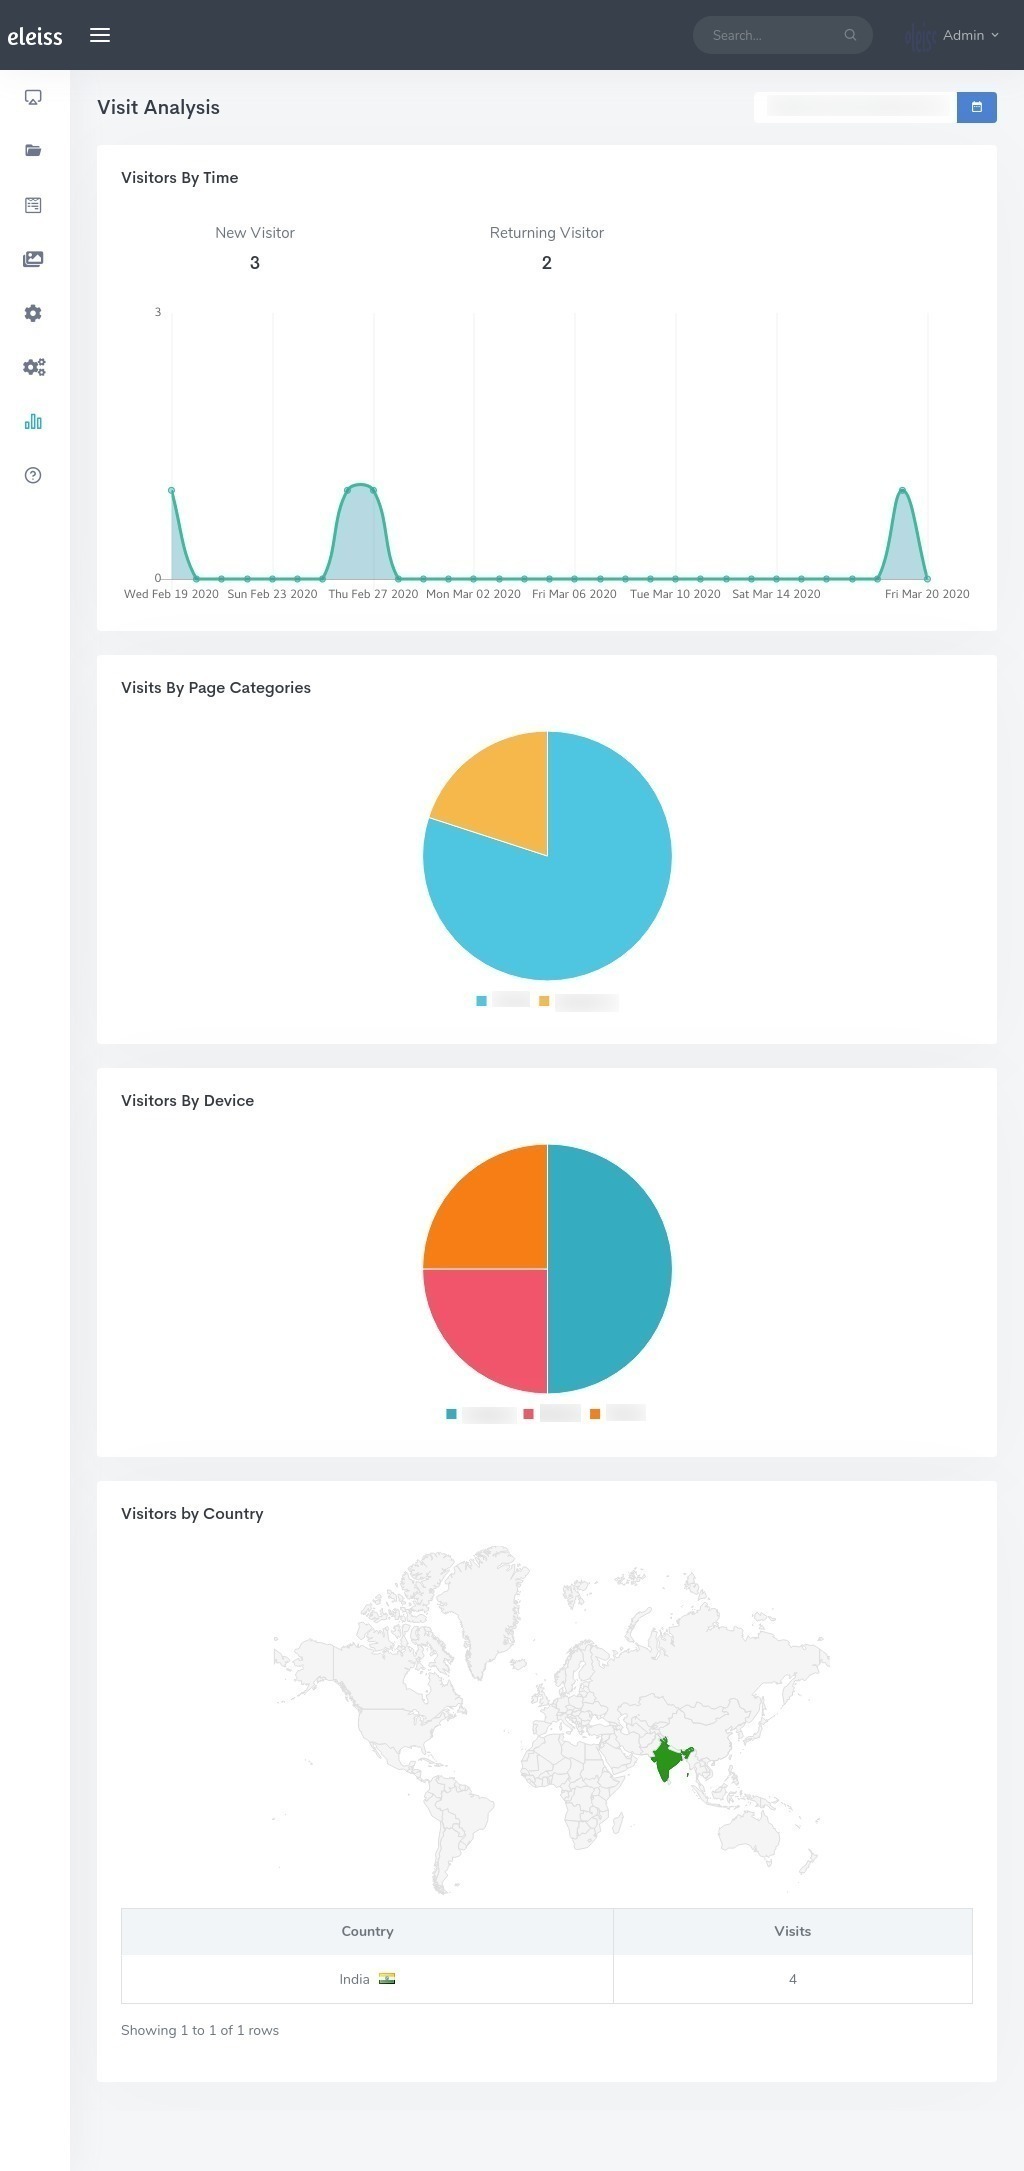
Visitors By Time
Visits By Page Categories
Visitors By Device
Visitors By Country
In ‘Page Performance’ section, you will get page specific reports which are as follows,

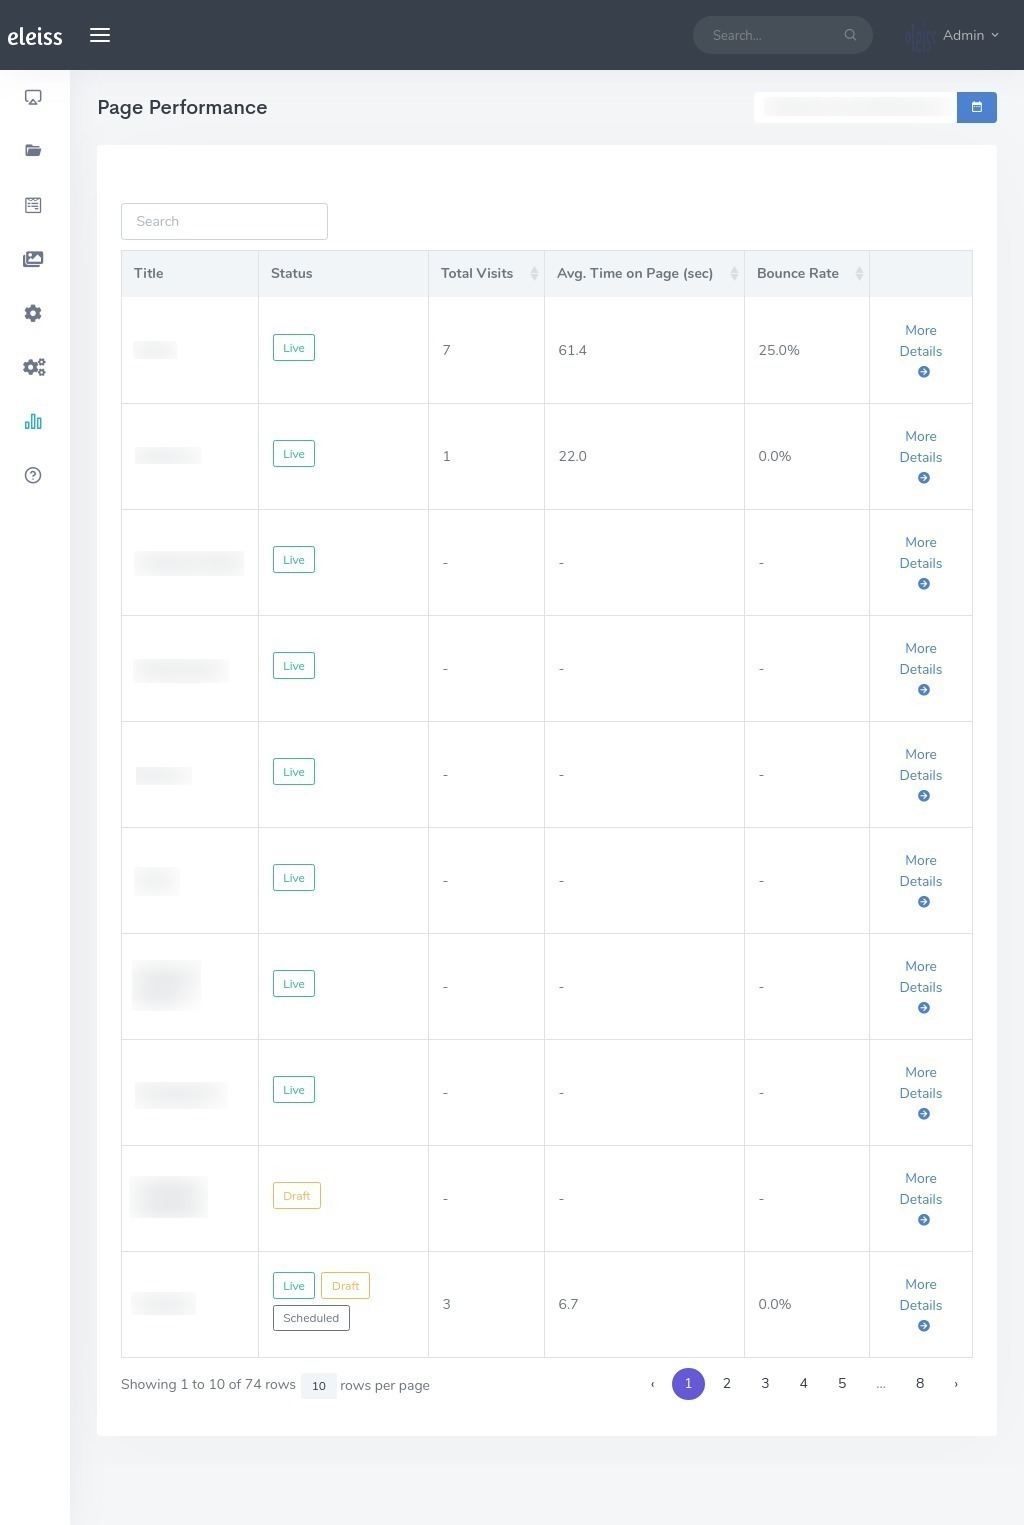
Avg. Visitor Time on Page-detail
Bounce Rate
Visitors By Time
Page Views By Time
Top Referrers
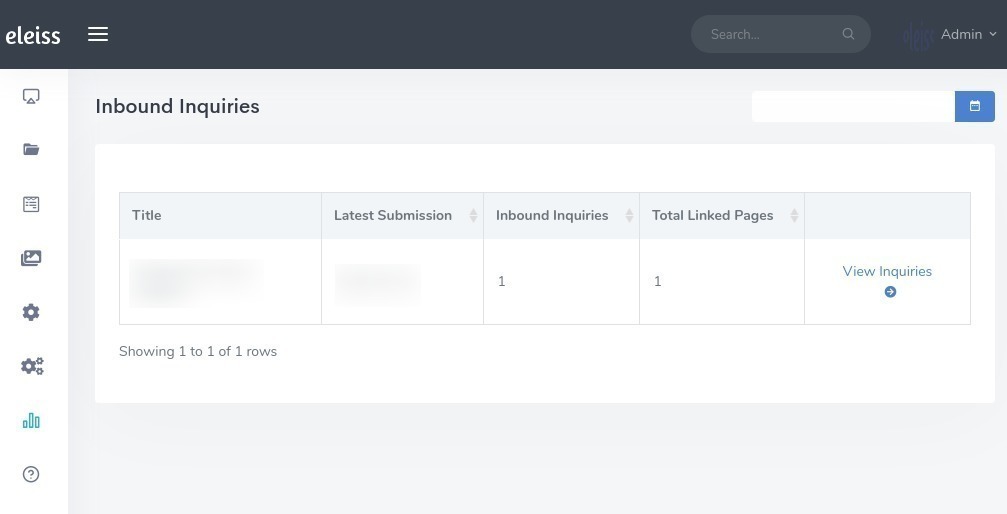
In ‘Inbound Inquiries’ section, you will get form wise submissions details.
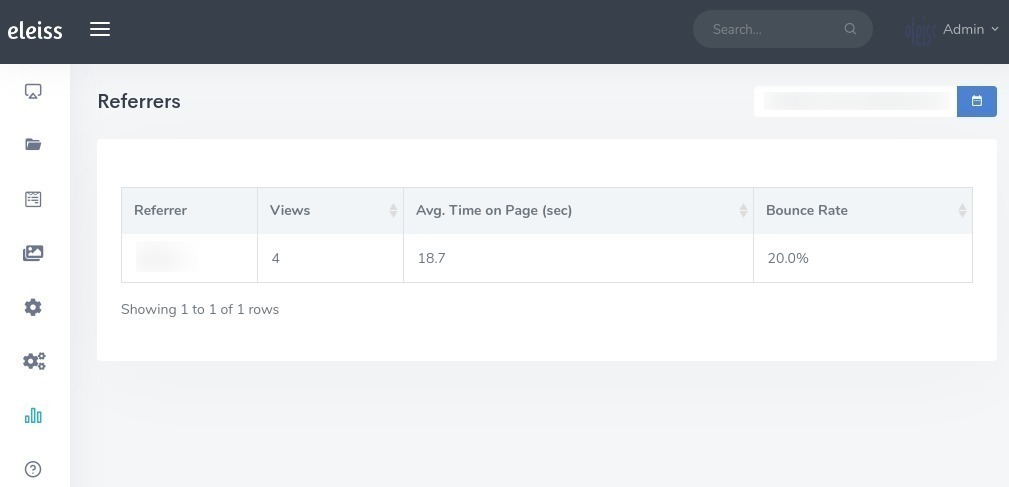
In ‘Referrers’ section, you will get the details from which sources visitors are comming to your website.
Create GA KEY, VIEW ID
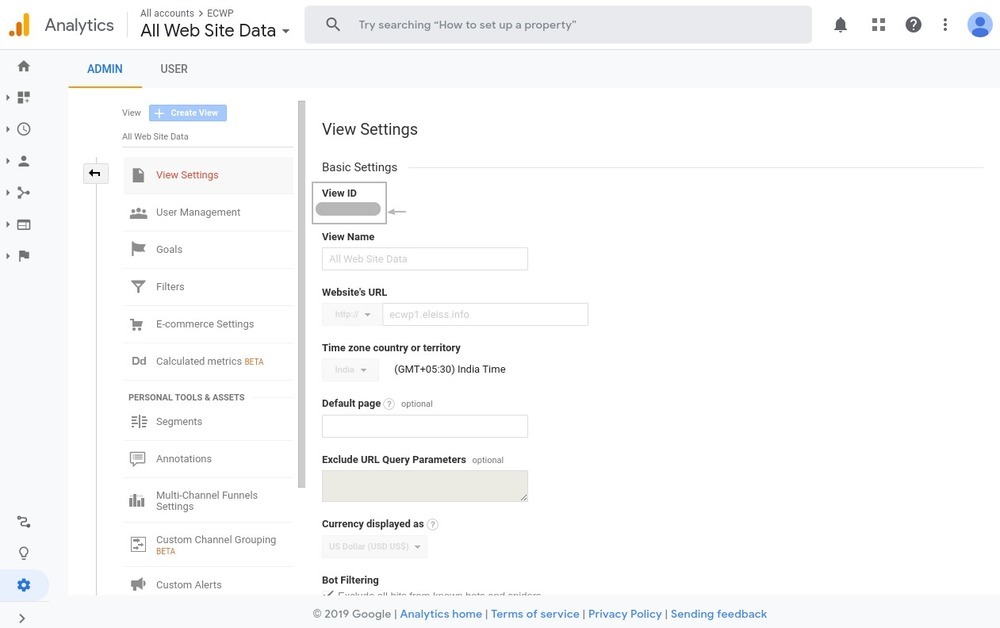
Create Google Analytics account first. ‘Learn More’
Copy View ID from ‘Settings > View Settings > Basic Settings’ and save it somewhere for further use
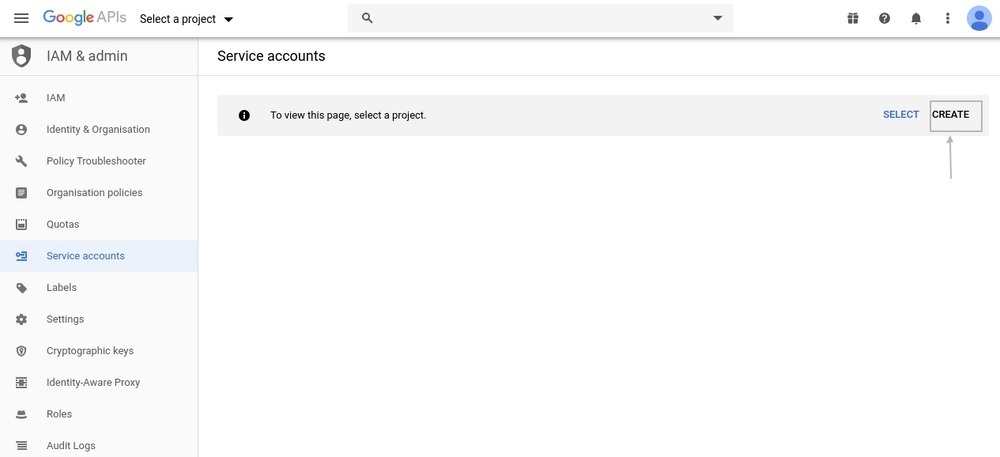
To create GA KEY, ‘Visit link’
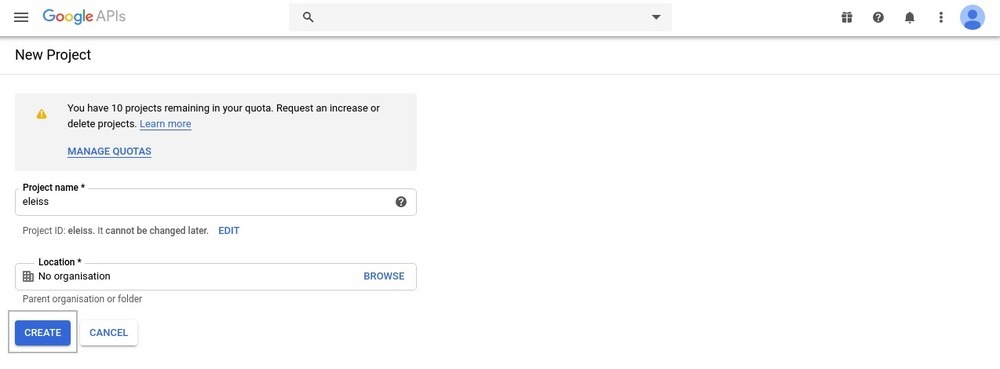
Click on ‘CREATE’ to create project
Click on ‘CREATE’
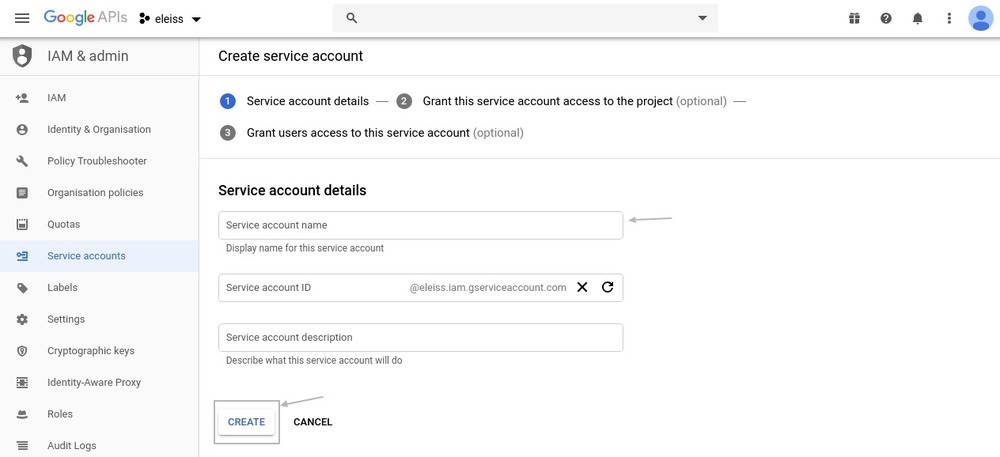
Click on ‘Create Service Account’
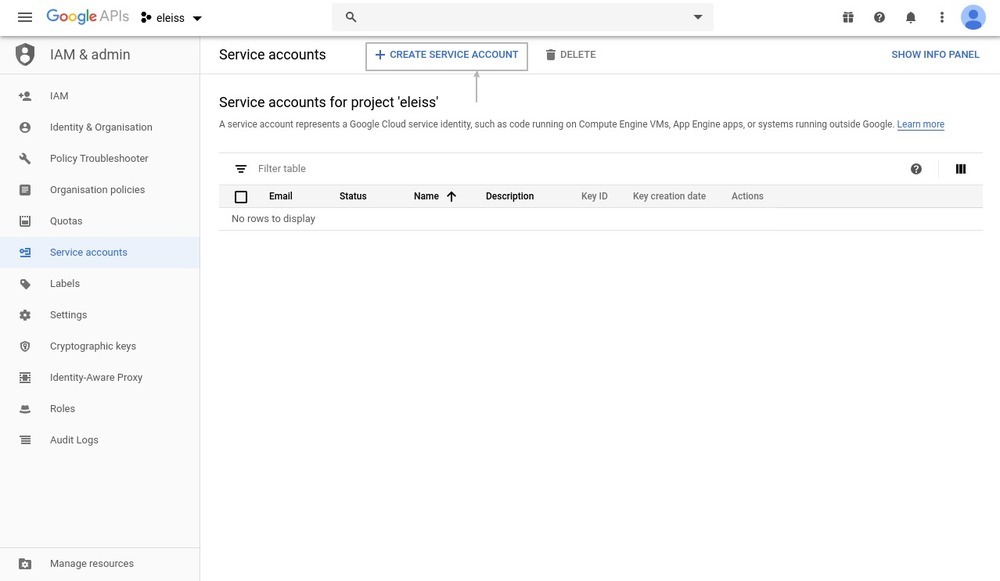
Enter Account name and according to that ‘Service account Id’ will be generated
Click on ‘Create’
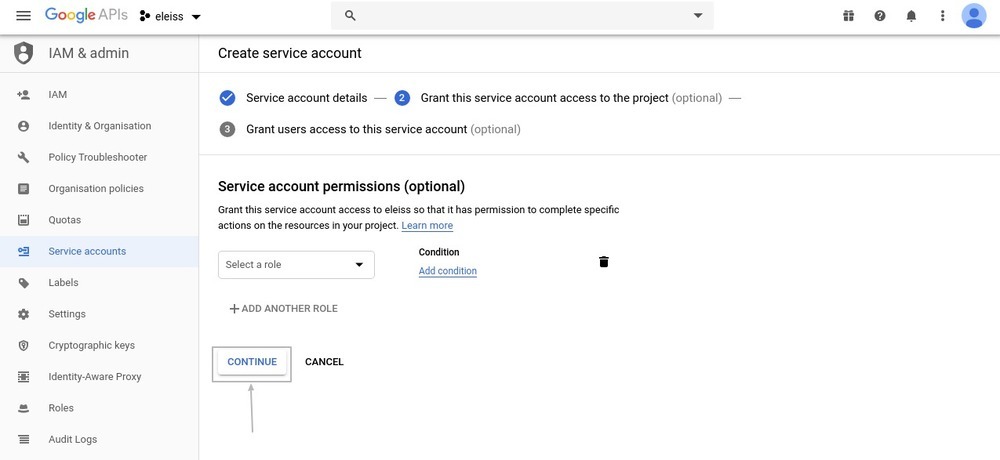
Click on ‘Continue’
Click on ‘Create key’
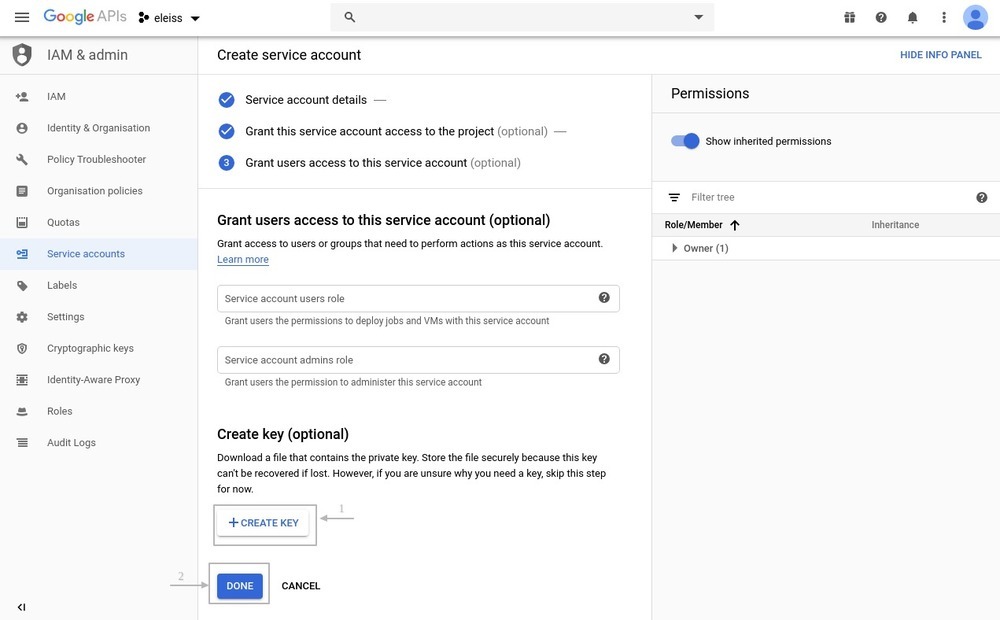
Select JSON option and Click on ‘Create’
Save that file your on computer. (Rename file as ga_key.json)
